Use your Raspberry Pi as Cloud – Part 1
In the past few years, tags like ‚cloud‘ or ‚cloud service‘ became very important topics for the IT. Today the traffic speed on the internet is very fast, better as some LAN networks in the 90s, so it is possible now to outsource a datacenter completely into internet. With this outsourcing, you can save money that was used before for administrators, hardware, energy and all other costs that comes with a own datacenter. A cloud service is, especially for small business a cheap alternative. But there are also negative aspects. Data is stored somewhere. You may have no idea where and it is possible, that anyone else can read your data (for example NSA or so)… So a solution to this disadvantage may be to create your own cloud. This is not very complicated, it also works with a Raspberry Pi!
Open source cloud systemes
Currently there are two very good open source cloud systems available that can be installed on Raspberry Pi. I will show you both of them and how to install and configure them. Both times I start with a Raspberry Pi with an installed Apache web server which runs. If you want to know how this works, you can read my article about ‚How to set up apache2 on Raspberry Pi‚.
Owncloud
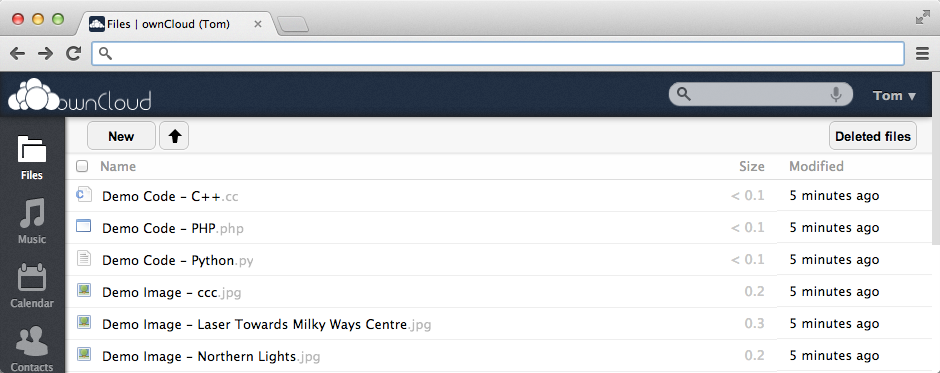
Owncloud is currently published with version number 5. A detailed list of all features can be found on their web site. But before we can install Owncloud on our system, we need to install some packets that are needed:
sudo apt-get update && sudo apt-get install curl php5 sqlite3 libcurl3 php5-curl php5-intl php5-sqlite php5-gd php-xml-parser
Installation
We can install Owncloud on our command line with a few commands:
cd /var/www/
sudo wget http://download.owncloud.org/community/owncloud-5.0.2.tar.bz2
sudo tar -xvf owncloud-5.0.2.tar.bz2
sudo chown -R www-data:www-data owncloud
First we change the directory into our Apache web directory (normally /var/www). Then we load the packed code for Owncloud from their web site. Then we unpack this file and set the correct rights.
Configuration
Configuration is easy, there are only some things to change that are Apache settings. First we change a virtual server setting:
sudo nano /etc/apache2/sites-enabled/000-default
In this file, we set AllowOverride None to AllowOverride All for the /var/www section. Then we save this file. Next we need to activate Apache mods:
sudo a2enmod rewrite
sudo a2enmod headers
If this doesn’t works, you may have to install the mods. After a restart of Apache you can connect to your cloud system. For this type http://192.168.1.10/owncloud into your browser. Note that this IP address should be the IP address of your Raspberry Pi.
In the next part, I show you a different cloud service called: Seafile.


